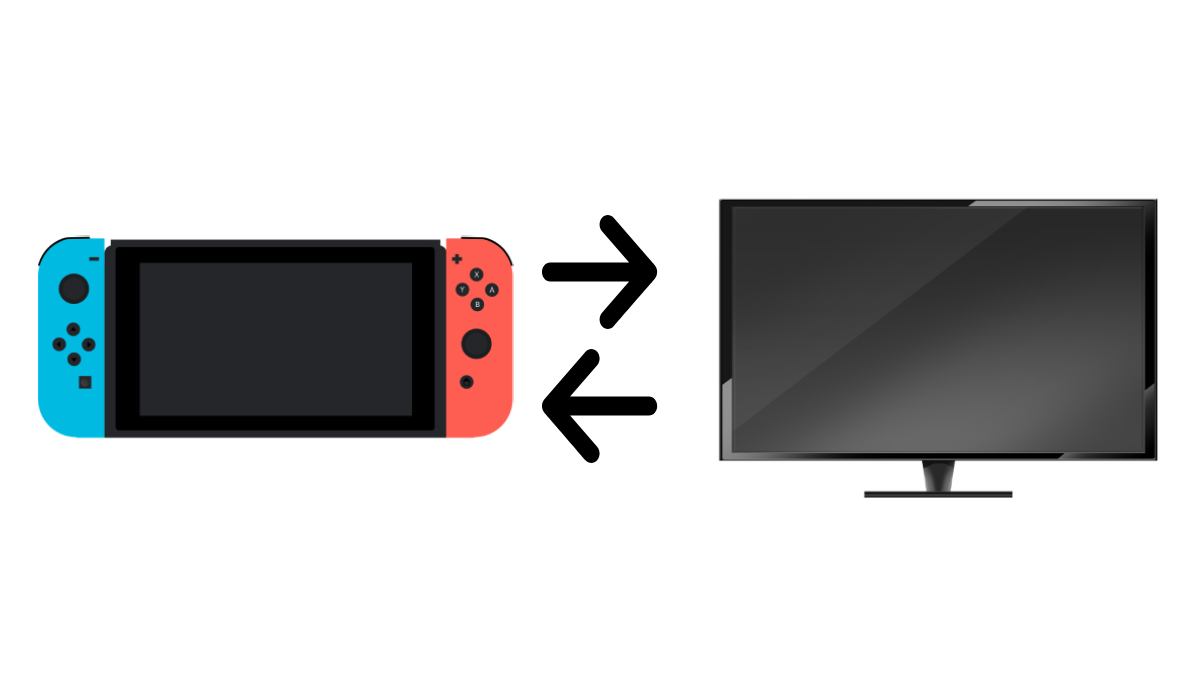
Playing Nintendo Switch on a TV is incredibly satisfying, and it’s one of the many perks of owning a Switch console. The Switch has always offered a versatile gaming experience. And with the Switch 2 on the way, expect a more improved gameplay. Its portable size allows you to play games at home or on the go. The Switch makes it easy to play your favorite titles wherever you are. At home, you can also connect and play Nintendo Switch on a TV if you want to enjoy your games on a larger screen. The process of connecting your Switch to a TV is quick and straightforward.
This article provides a step-by-step Guide on how to connect Your Nintendo Switch to a TV. Here, I’ll guide you through the processes like connecting your AC adapter and HDMI cable. This quick connection Nintendo Switch TV setup also includes how to play Switch games on TV without the dock.
Requirements
Before you go on and start connecting your Nintendo Switch to a TV, there are a few things you should have.
Difficulty And Duration
Difficulty: Easy
Duration: 10 minutes
Items you will need:
Nintendo Switch
AC adapter
Dock
HDMI cable
USB-C to HDMI adapter (optional)
CHECK OUT: How to Install and Play PPSSPP Games on Android and PC
Setting Up Your Nintendo Switch with a TV
All Nintendo Switch consoles come with a dock, which allows you to connect the console to your TV. The process of connecting a TV to a Nintendo Switch console is easy. Here’s a step-by-step guide on how to connect Your Nintendo Switch to a TV, and play your favorite games on a big screen.
Step 1: Prepare the Dock
Before connecting your Nintendo Switch to your TV, open the back of your Switch dock. At the back of the Switch console, you will notice three outlets labeled AC adapter, USB, and HDMI out. You only need to use the AC adapter and HDMI out ports to connect your Switch to a TV.
Step 2: Connect the HDMI Cable
Take your HDMI cable and insert one end into the dock’s HDMI out port. Connect the other end to an available HDMI port on your TV or monitor.
Step 3: Connect the AC Adapter
Next, take the AC adapter (model No. HAC-002) and plug one end into the dock’s *AC adapter* port. Then, plug the other end into a wall outlet for power.
Step 4: Close the Back of the Dock
Once both cables are connected, close the back of the dock. Be mindful of where the cords are exiting to avoid damage. They should fit through the designated space without issue.
Step 5: Dock the Nintendo Switch
Now, you’re ready to place your Switch into the dock. Ensure the console’s LCD screen faces the same direction as the dock’s front panel. Once correctly docked, the Switch screen will automatically turn off.
Step 6: Turn Everything On
Once you have placed the Nintendo Switch in the dock and the TV is turned on, use the TV remote to select the correct HDMI input. As soon as you select the right HDMI input that your Nintendo Switch is connected to, your Switch should display on the TV screen. Now you’re ready to start gaming!
How to Connect the Nintendo Switch to a TV Without a Dock
In the first part of this tutorial, I shared the steps on how to connect your Nintendo Switch to a TV, which involves using the Switch dock. But what if you don’t have the dock, or it is nonfunctional? The good news is that you can still connect your Switch console to your TV, even if your dock is damaged or unavailable. Without the dock, you can still connect a Nintendo Switch to your TV through a USB-C to HDMI adapter. Here’s how to do it:
Step 1: Unplug the Cables from the Dock
Remove the HDMI and USB-C power cables from the original Switch dock.
Step 2: Connect the Adapter
Insert the HDMI and USB-C cables into the corresponding ports on your USB-C to HDMI adapter.
Step 3: Plug in the Adapter
Connect the USB-C end of the adapter to your Nintendo Switch.
Step 4: Select the TV Input
Once connected, switch your TV to the correct HDMI input, and your Switch screen should now display on your TV without the dock.
Step 5: Keep an Eye on Heat
While this method works well, make sure that there is proper airflow to avoid overheating the Switch. I recommend propping to keep the vents accessible.
Note: You can’t connect Nintendo Switch Lite to a TV without a dockit.
Important Tips for Docking the Nintendo Switch
While docking your Switch is easy, there are a few things to keep in mind for the best experience. Here are some important tips to know about docking your Nintendo Switch.
Handle with Care: Although the Switch is durable, be gentle when docking it to avoid scratches or damage. A screen protector can also help prevent any wear and tear from regular docking.
Joy-Con Syncing: Before playing, make sure your Joy-Cons are synced to the console. You can remove them before or after docking the Switch, but if they haven’t been synced yet, you’ll need to register them first. This process is similar to syncing Wiimotes with the Wii.
Joy-Con Charging: After playing, reattach your Joy-Cons to the docked Switch to ensure they’re charging. Leaving them disconnected overnight may drain their battery, so it’s a good habit to keep them plugged in when not in use.